- 1-Click Rebuild iTunes Library
- 1-Click Backup Photos to PC/Mac
- 1-Click Transfer iTunes Media to Device
- 1-Click Phone to Phone Transfer
- Transfer Music from Computer to iPhone/iPad/iPod
- Transfer Music from iPhone/iPad/iPod to Computer
- Transfer Music from iPhone/iPad/iPod to iTunes Library
- Transfer Music from iTunes Library to iPhone/iPad/iPod
- Transfer Music Between iDevices and Android Devices
- Manage Music Playlists
- Find and Remove Duplicate Music Files
- Fix Music ID3 Tags for iPhone/iPad/iPod touch
- Delete Music on iPhone/iPad/iPod
- Transfer Videos from Computer to iPhone/iPad/iPod
- Transfer Videos from iPhone/iPad/iPod to Computer
- Transfer Videos from iPhone/iPad/iPod to iTunes Library
- Transfer Videos from iTunes Library to iPhone/iPad/iPod
- Transfer Videos Between iPhone/iPad/iPod/Android Devices
- Delete Videos on iPhone/iPad/iPod
- Introduction to Photos
- Transfer Photos from Computer to iPhone/iPad/iPod touch
- Transfer Photos from iPhone/iPad/iPod touch to Computer
- Transfer Photos Between iPhone/iPad/iPod/Android Devices
- Delete Photos on iPhone/iPad/iPod touch
- Manage Photo Albums in Photo Library
- Convert Photos/Video on iPhone/iPad/iPod touch to GIF
- Transfer Contacts from Computer to iPhone/iPad/iPod touch
- Backup Contacts from iPhone/iPad/iPod touch to Computer
- Transfer Contacts between iOS and Android Devices
- Manage Contacts on iPhone/iPad/iPod touch
- Export SMS from iPhone/iPad/iPod touch to Computer
- Install Apps from Computer to iOS Devices in Batch
- Uninstall Apps on iOS Devices with One Click
- Export Apps from iOS Devices to Computer for Backup
- Rebuild iTunes Library
- Transfer iTunes to Device
- Phone Transfer
- GIF Maker
- Fix iOS/iPod (Only for Mac Version)
1-Click Transfer iTunes Media to Device
iTunes is a widely-used tool for iOS users, but many of Apple users are afraid to use the sync function of iTunes as it will cover the original content on iDevice. dr.fone-Transfer is able to transfer various kinds of media files from iTunes to iPhone/iPad/iPod without overwriting your previous content. In just one step, your iTunes media files could be transferred to your iDevices.
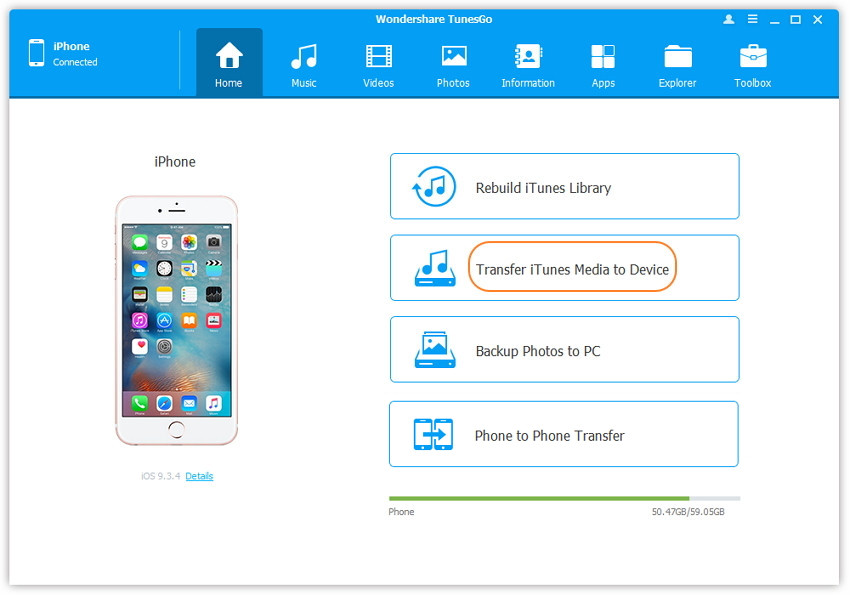
Step 1. Launch dr.fone-Transfer and connect your iPhone/iPad/iPod with the computer. Then click Transfer iTunes Media to Device icon on the main interface.
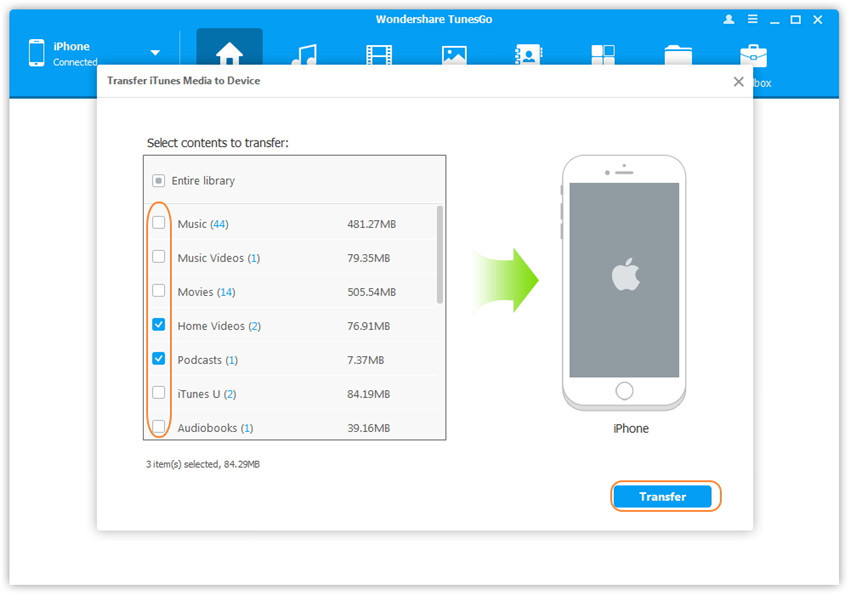
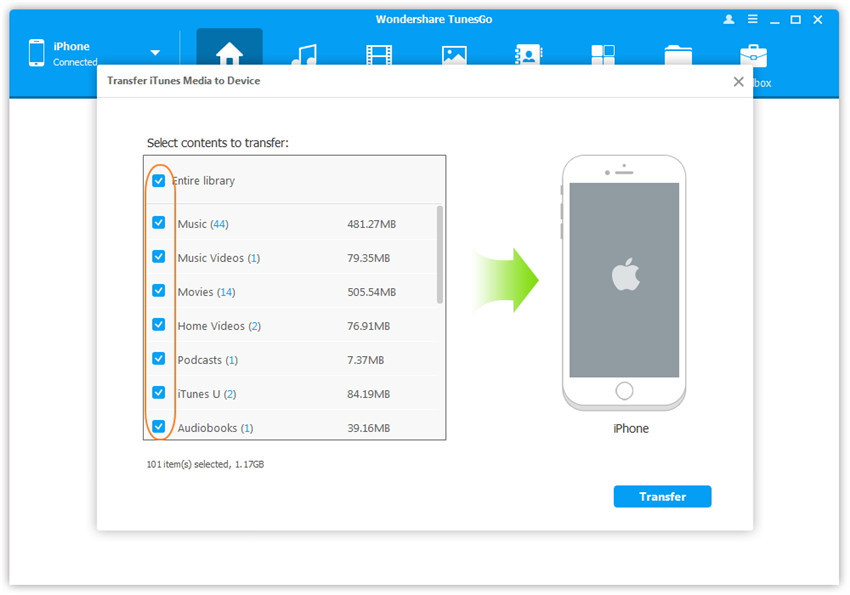
Step 2. dr.fone-Transfer will detect all the media files in iTunes and show them by list on the pop-up window. By default, the entire library has been checked. But you can uncheck some items that you won't transfer to your iDevice.
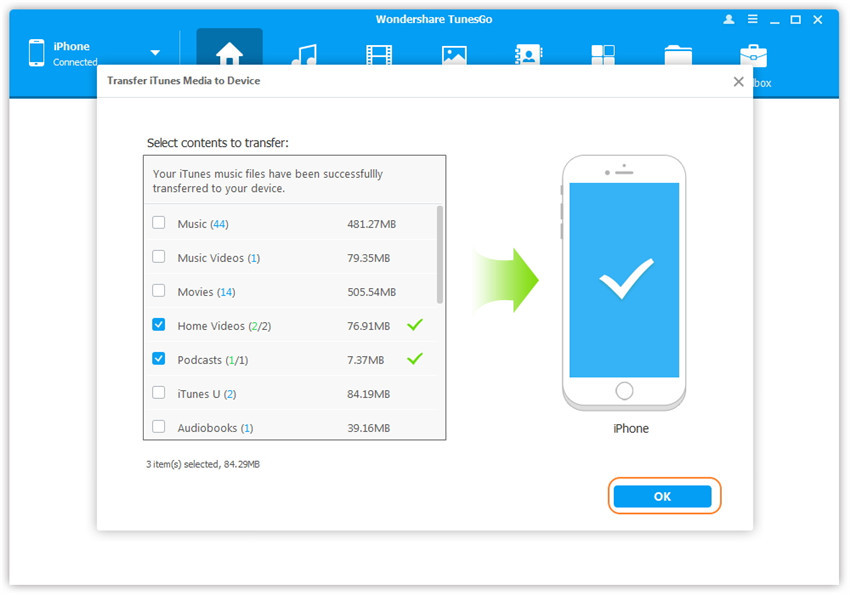
Step 3. Transfer media contents to your iDevice
Click Transfer to start transferring selected files to your iDevice and then click OK to complete the process.
Note: There is no worry about duplicate files as dr.fone-Transfer enables to automatically detect the duplicates and only transfer the exclusive contents from iTunes to iDevice.